CAMERA SETUP
SHOOTING MODES FOR STREET PHOTOGRAPHY
Many people might think that best street photographers shoot in manual mode, but I don’t think that’s true. The fact is that there are some other shooting modes that allow us to control our camera parameters while keeping a good deal of agility and speed.

Source: Althepal at English Wikipedia
In this post I will explain the 3 shooting modes I use the most while I’m walking the streets. If you are willing to learn, continue reading!
If you are new to photography or you still do not dominate the basic parameters of your camera, I recommend you to read first my post about 3 basic exercises to master photography.

My friends Urtzi, Leire and Borja, representing (A)perture, (S)peed and (M)anual modes.
Selecting the correct camera setup while practicing photography will allow us to get the maximum of it. Our probabilities of getting the picture we expect will increase and this will make our journey more enjoyable and funny. On top of it, the correct setup will help us avoiding moved and/or not correctly exposed photographs to be captured by our camera.
Let’s analyse the best shooting modes for street photography (and probably aplicable for any type of photography)
So, which camera settings should I use for street photography?
1. Aperture mode (A)
Usually the light, or better, the lack of it, is our biggest enemy and we are forced to define the biggest aperture (smallest F) not to be forced to use too high ISOs. This is why using the aperture mode and defining a very bright F value will make sure we are shooting in the lowest ISO and highest speed possible.

There is a downside of this approach because using low F numbers, as you know, affects to the depth of field (this is, the backgrounds of our pictures are more likely to be blurred). However, now you are in charge of your camera’s behaviour and if you see that shutter speed and ISO parameters can be kept in acceptable ranges, you can use a bigger aperture value to improve the depth of field.
To start using the brightest aperture and adjusting it according to light conditions every time is one of the setups that I use most of the times while I am practicing street photography, and I can confirm it works pretty well. Moreover, the more you practice, the better you know how high you can go with the F value depending on the light at any moment.
2. Speed mode (S)
In some specific scenarios I know that I need a minimum or a specific shutter speed. For example, if I am photographing people practicing sports, cars or I want a panning photography, It’s me who should be defining the shutter speed and not the camera. In this cases, we can use the Speed Mode (S).
With this setup you define the shutter speed, which is measured in seconds (or parts of a second, like 1/125) and the camera will adjust the rest of the parameters accordingly. This may mean the camera needs to use a high ISO in order to match your high shutter speed, but in this case we should be able to deal with it, because, is it worth a picture of a Formula 1 car that is blurred? Maybe it is better to have a sharp F1, even though it is in ISO 3200.

Find your Street Photography shutter speed
A very good rule in order to calculate what is the minimum shutter speed you need to shoot handheld photographs, is to use your lenses focal distance as reference. So, for example, if you are using a lens of 50mm, your minimum shutter speed should be 1/50 or higher. If your lens is a 80mm, you should at least use 1/80s speed. (This approach is for full frame cameras. If your camera is a DSLR, you should multiply your focal distance by 1,5 and then use the same logic: so a 80mm in DSLR would use a 80*1,5=140 so a 1/140 speed).
The most interesting use of this mode is for panning photography. This is a technique that requires a lot of practice and experience, but however it is one of the easiest to exercise. You just need to sit on the side of a street and wait for cars to pass by, following them with your camera in the right way to capture the subject in focus and get a blurred background.
If your shutter speed is too high, the whole picture will be frozen; however, if your shutter speed is too low, everything will be blurred. Check this amazing picture by @MilekZolaPhoto where the background and the foreground, both are blurred.
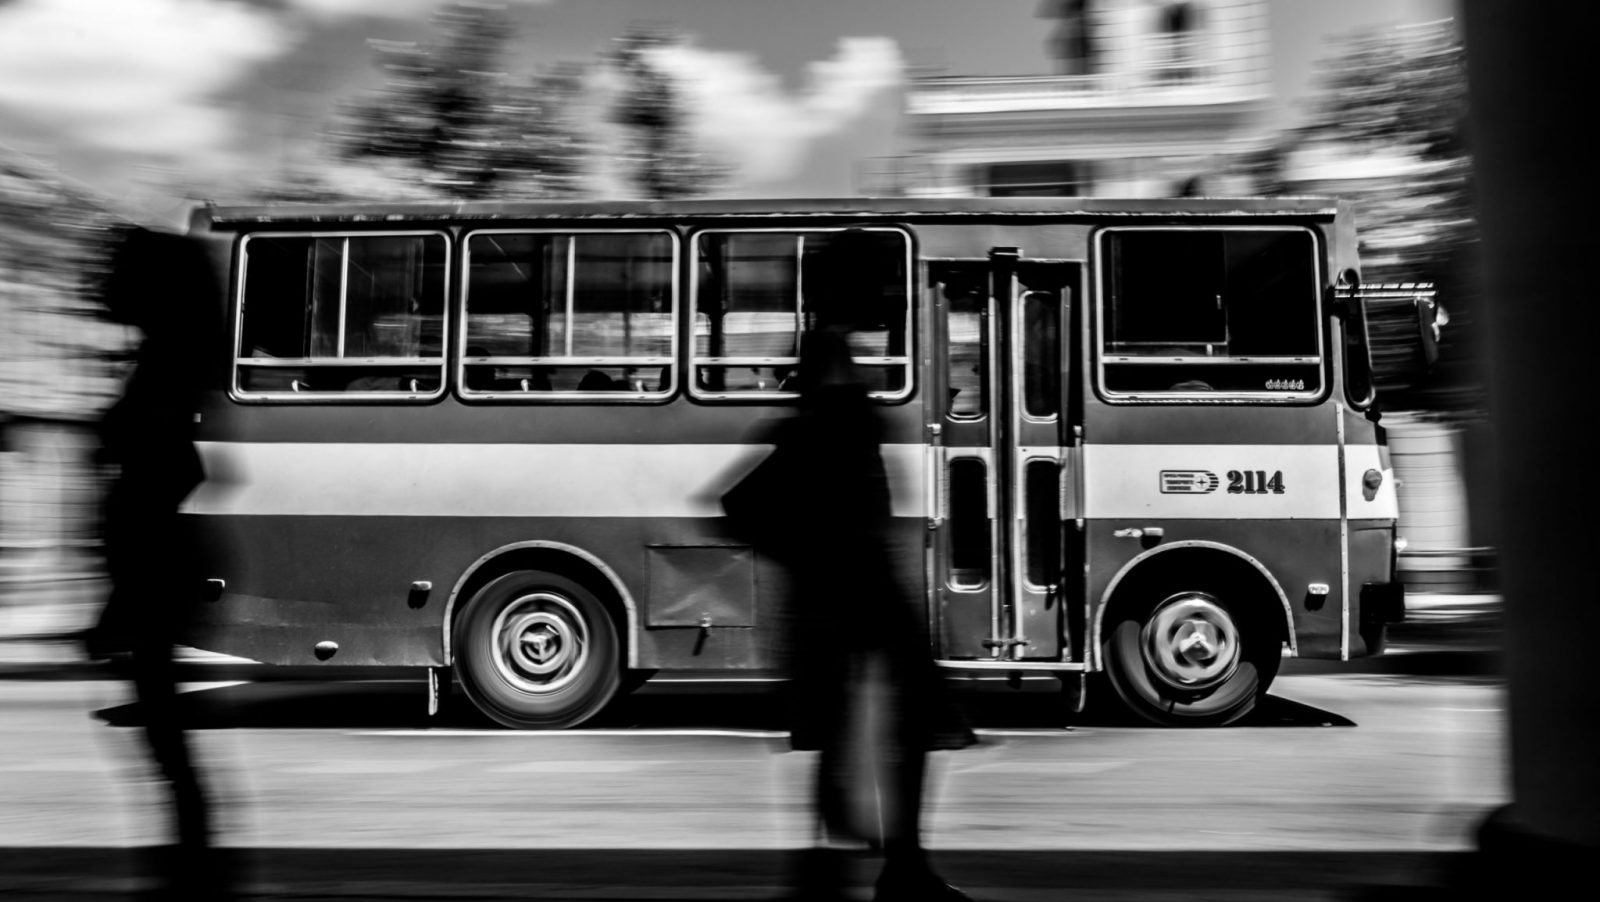
Image by @MilekZolaPhoto
You will have to workout your ideal shutter speed for panning photography which of course will depend on your camera and specially in your focal distance (lenses zoom). I can give you a starting point from what I have learnt on my own, and it is to use a 1/125 shutter speed for a 55mm lens. Good luck!
3. Manual mode* (M)
I have discovered the need of using the manual mode in specific circumstances (and with a small trick*). The fact is that shooting in (A)perture mode in very dark environments, my camera sets a very low shutter speed by default (1/60 while I most of the time use a 55mm lens). Even this could be an acceptable speed for handheld pictures as I said before, it does not work for me, because while practicing street photography there is a big uncertainty about where the next picture will be. You need to be very fast, and most of the times you shoot without framing very well, in a rush or while you are moving. Therefore, I found out that most of the pictures I was taking during the night were blurred.
In order to avoid this, I thought the following: I will define the aperture (lowest F), I will define a speed so I’m sure the pictures are frozen (1/125 – /160) BUT, I will define the ISO in Auto, so the camera sets it. This way, I make sure the aperture is the brightest one so the ISO the lowest possible but the speed will be enough to freeze the image always. The downside of this setup is that, if for some reason, you step in a too bright scenario, your camera will not be able to set a ISO lower than 100 and your image could be overexposed. Therefore this setup should only be used in night or very dark places.
That’s all about the shooting modes and camera setups for now. I hope you found it interesting and maybe helpful for your practice.
Thanks for reading!
Check other posts: These are articles from my blog with stories and pictures.
My visit to Chernobyl
My thrilling experience and some pictures of the Chernobyl day tour.
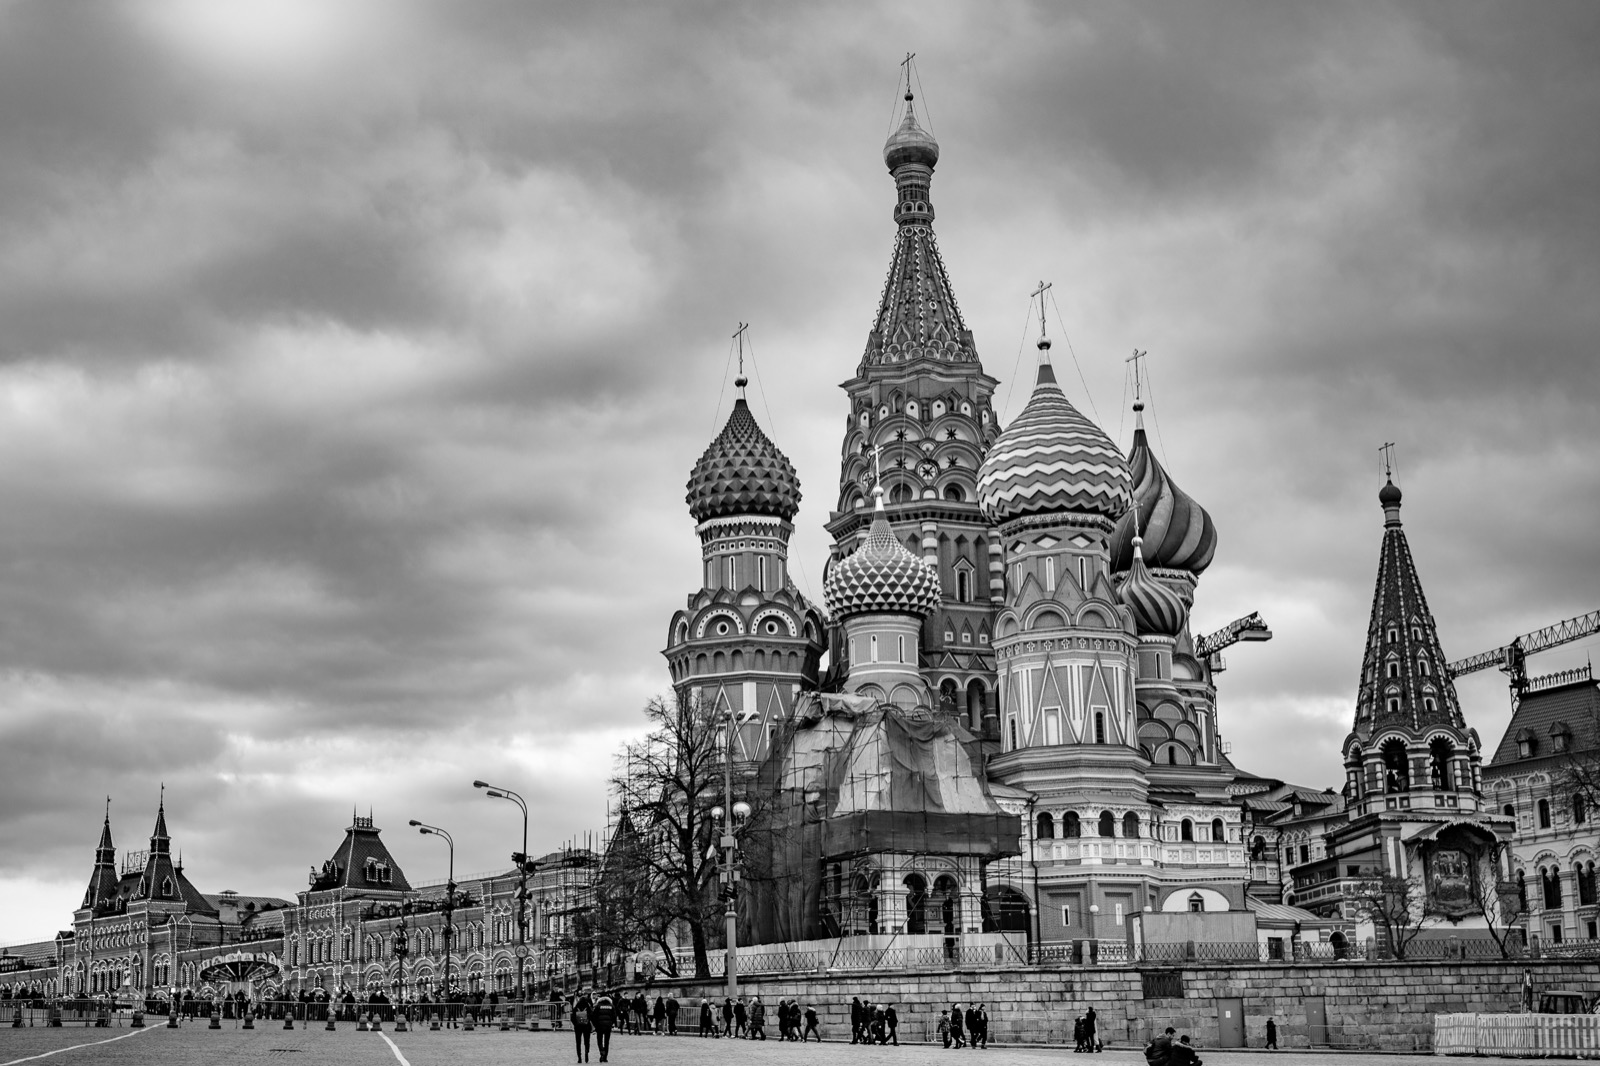
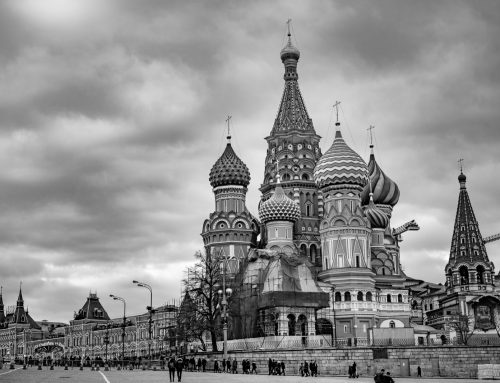
Photography in Moscow
Some of my pictures and thoughts from my visit to Moscow two weeks ago.
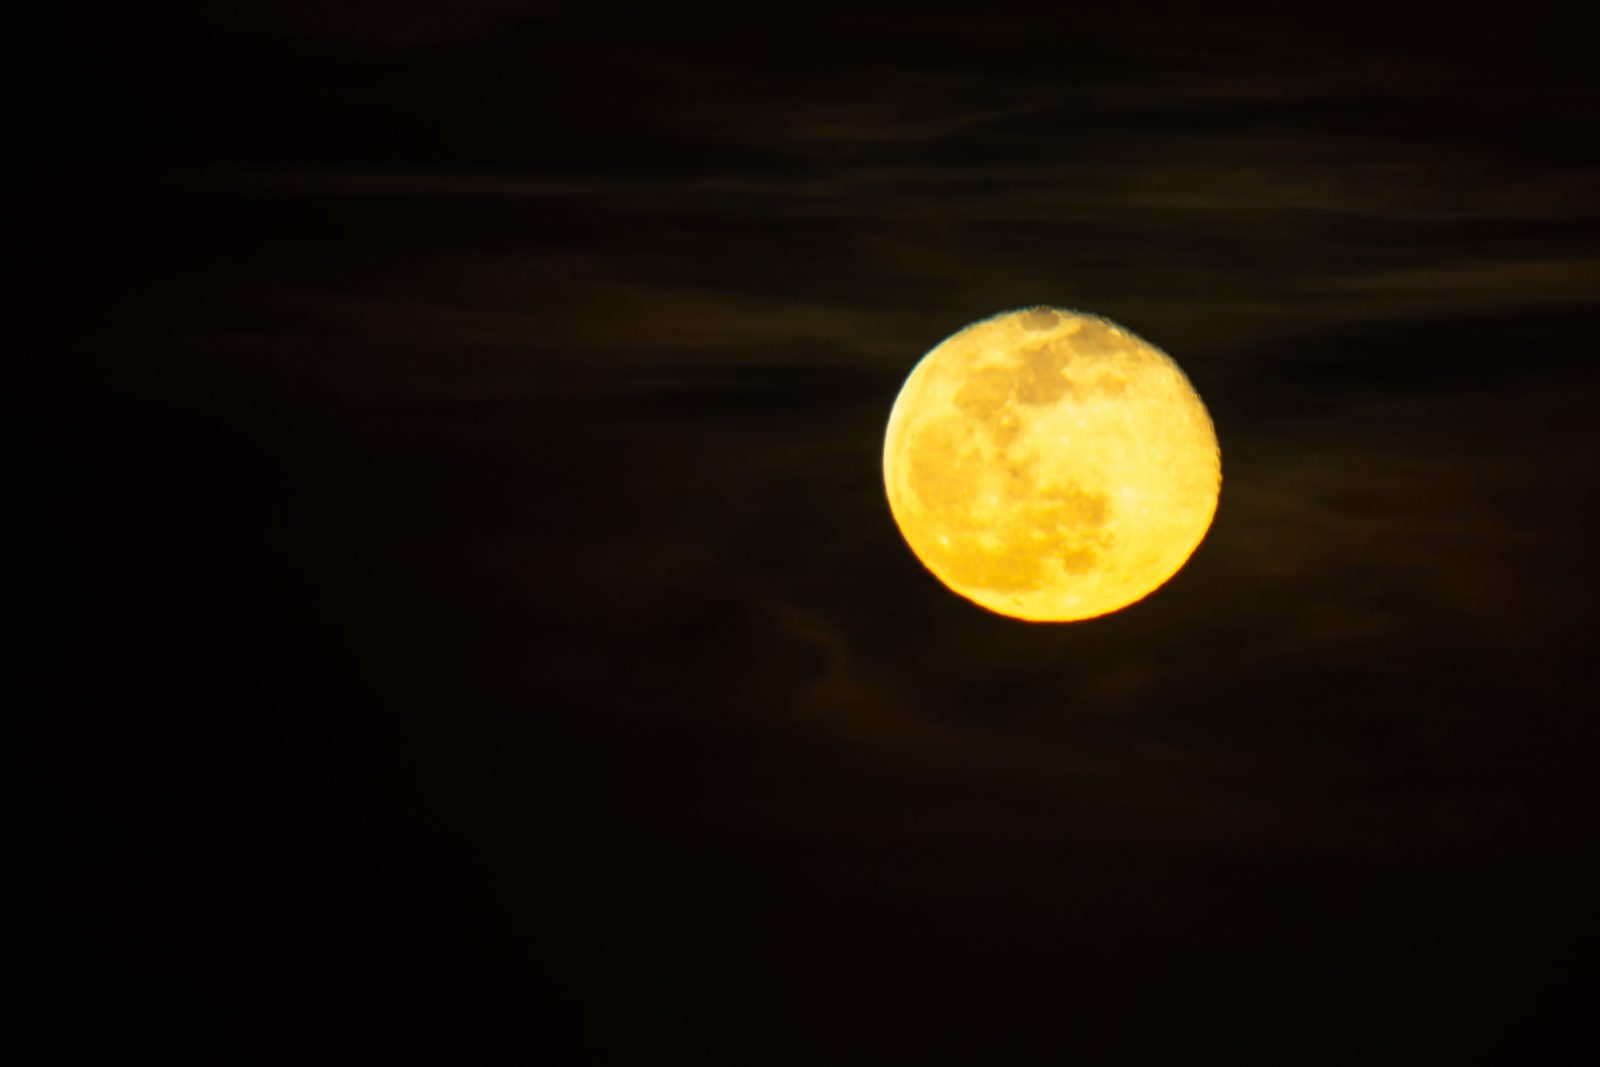
The Full Moon Project – Part I
My quest for the sharpest picture of the (full) moon.
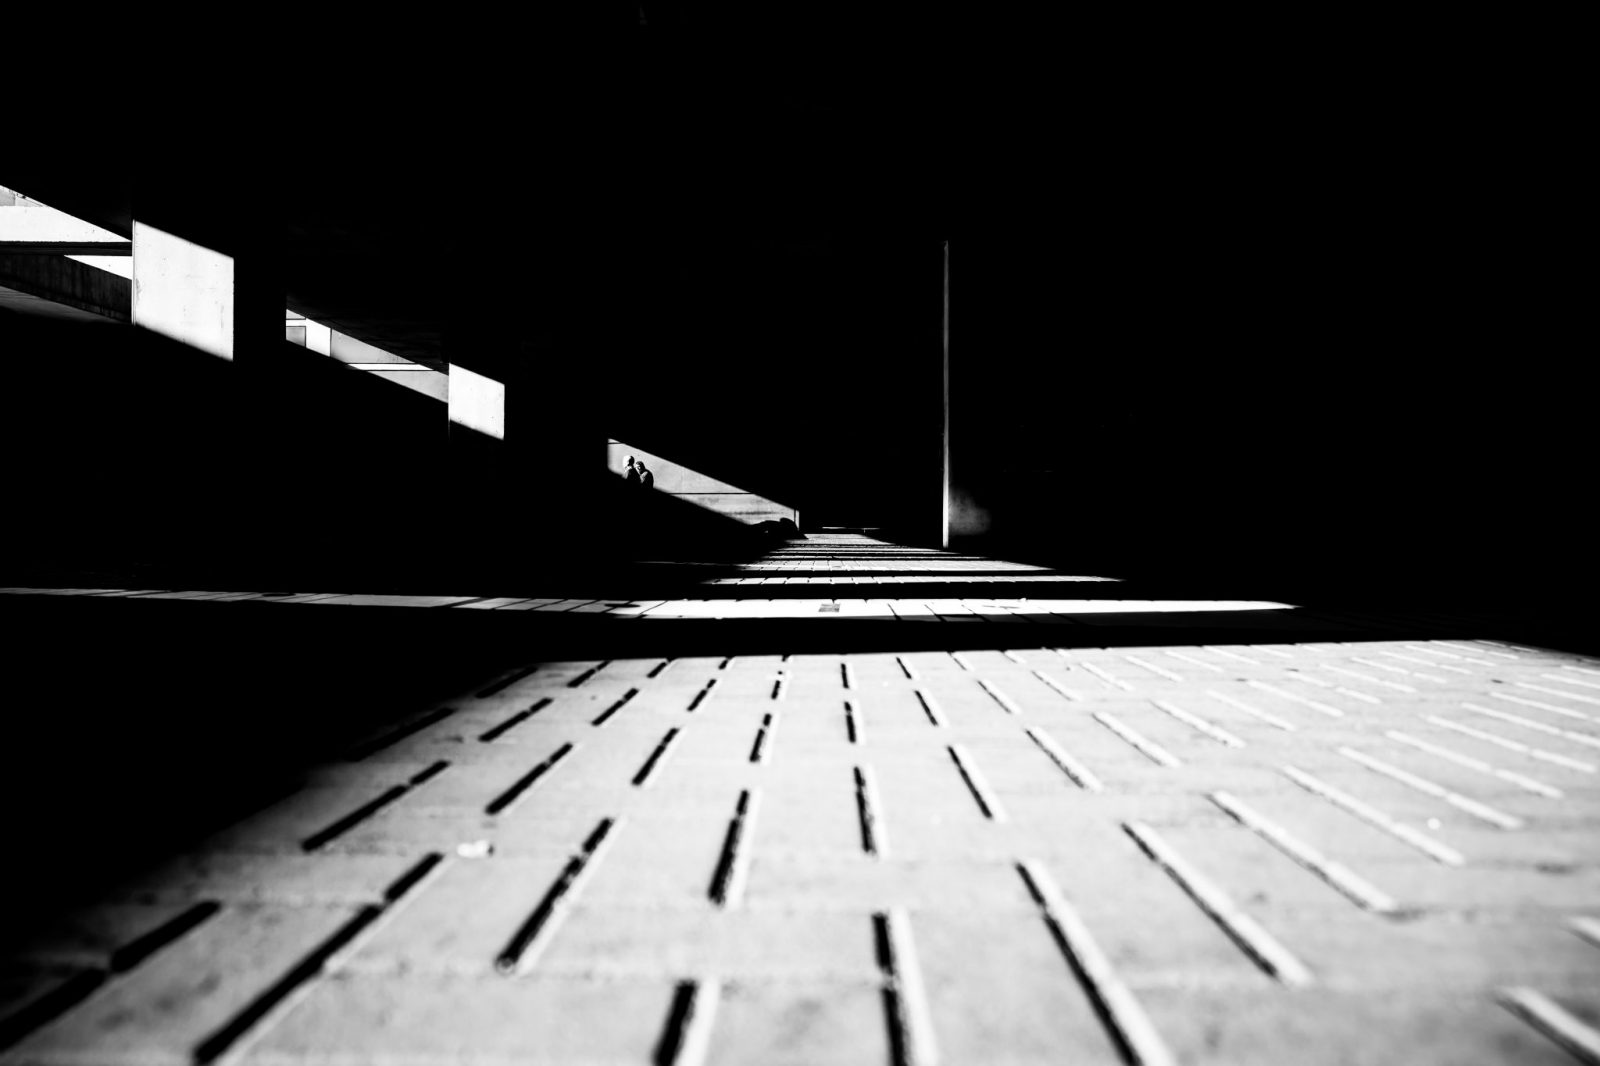
【 AEL and Spot Metering 】| Street Photography Tricks
How to use AEL and Spot Metering in order to get the best high contrast street photographs.
Red Lines in Street Photography
Where is the moral barrier when taking pictures of unknown people? This is what happened to me