Don’t miss my new Street Photography Course, in Attitude4.com/Academy

CAMERA SETUP
METERING MODES FOR STREET PHOTOGRAPHY
Maybe you have seen these icons in your camera’s setup and you are wondering what they are and how they affect your shooting? Let’s see how and when we can use them to get the best outcome.

This parameter will define how your camera is measuring the incoming light into the sensor in order to calculate a correct exposure. Usually, there are three main metering modes we can choose from:
Matrix metering: The camera is reading the whole sensor in order to calculate the correct exposure.
Center-weighted: The camera only uses the central area of the sensor to analyze the light and do the calculations.
Spot: The light is measured only in a small spot of the sensor (usually in the center).
How can we use these metering modes in our advantage for street photography?
Don’t miss my other post about Shooting Modes in Street Photography!
Do you have in mind which kind of street photography do you want to get? No? Fine, then you can go for the Matrix Metering mode. This is the default metering mode and it is the most conservative one.
The camera will be reading the whole scene, trying to make sure there are no burnt or under-exposed areas in your frame. This mode will work properly when you are shooting in open areas, landscape-kind-of street photography or also in cloudy or low contrast situations.
While the camera does not face situations with extremely opposite contrast areas you will be safe; the exposure will be balanced and the outcome will be good. In case there are high contrast areas but you are not looking for a picture where these differences are indeed remarked this mode should also work.
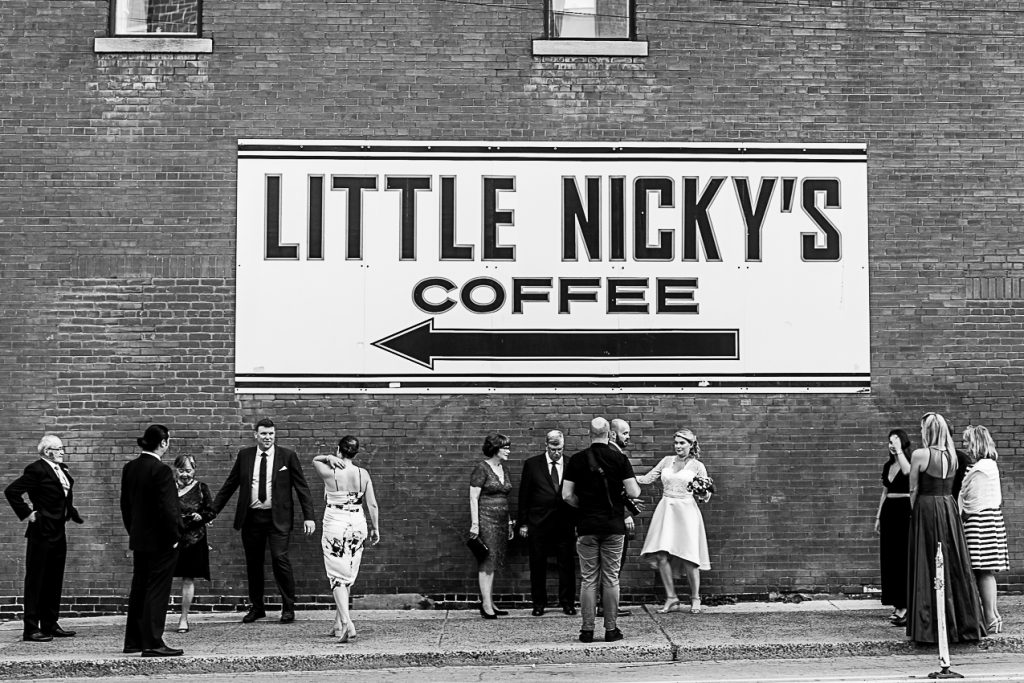
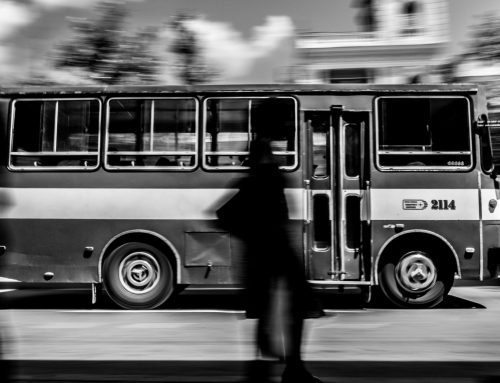
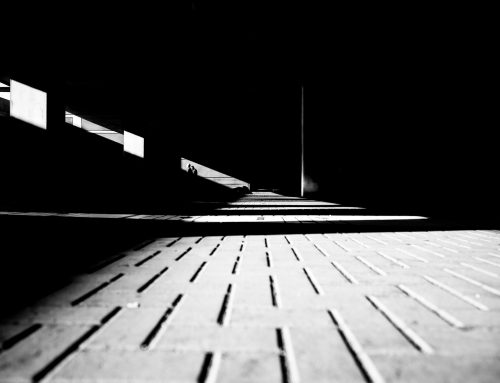
Matrix metering picture example (Boston, USA)
There are situations where we can find scenes with few areas with very different lightning situations. In this cases, and specially if we are looking for a high contrast picture, the center-weighted metering mode could be the solution. This metering mode will read the light in a specific mid-size area of our sensor, usually in the middle, exposing the photography correctly based only in the information of that small area.
So, if there are let’s say two big zones in your picture, one very bright, and another one very dark, you may want to use this mode. Set it up in your camera, and aim to the bright part of the picture: you will see how your camera will set the shooting parameters to get a darker photograph, trying to make sure the bright part of the picture is not over-exposed. This may lead to areas being very dark to the point that they are under-exposed.
If we are looking for a high contrast picture, the center-weighted metering mode could be the solution.
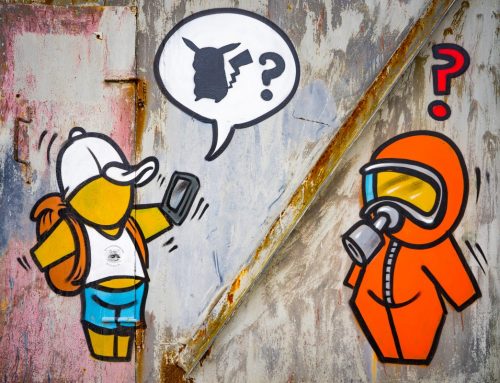
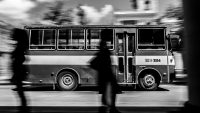
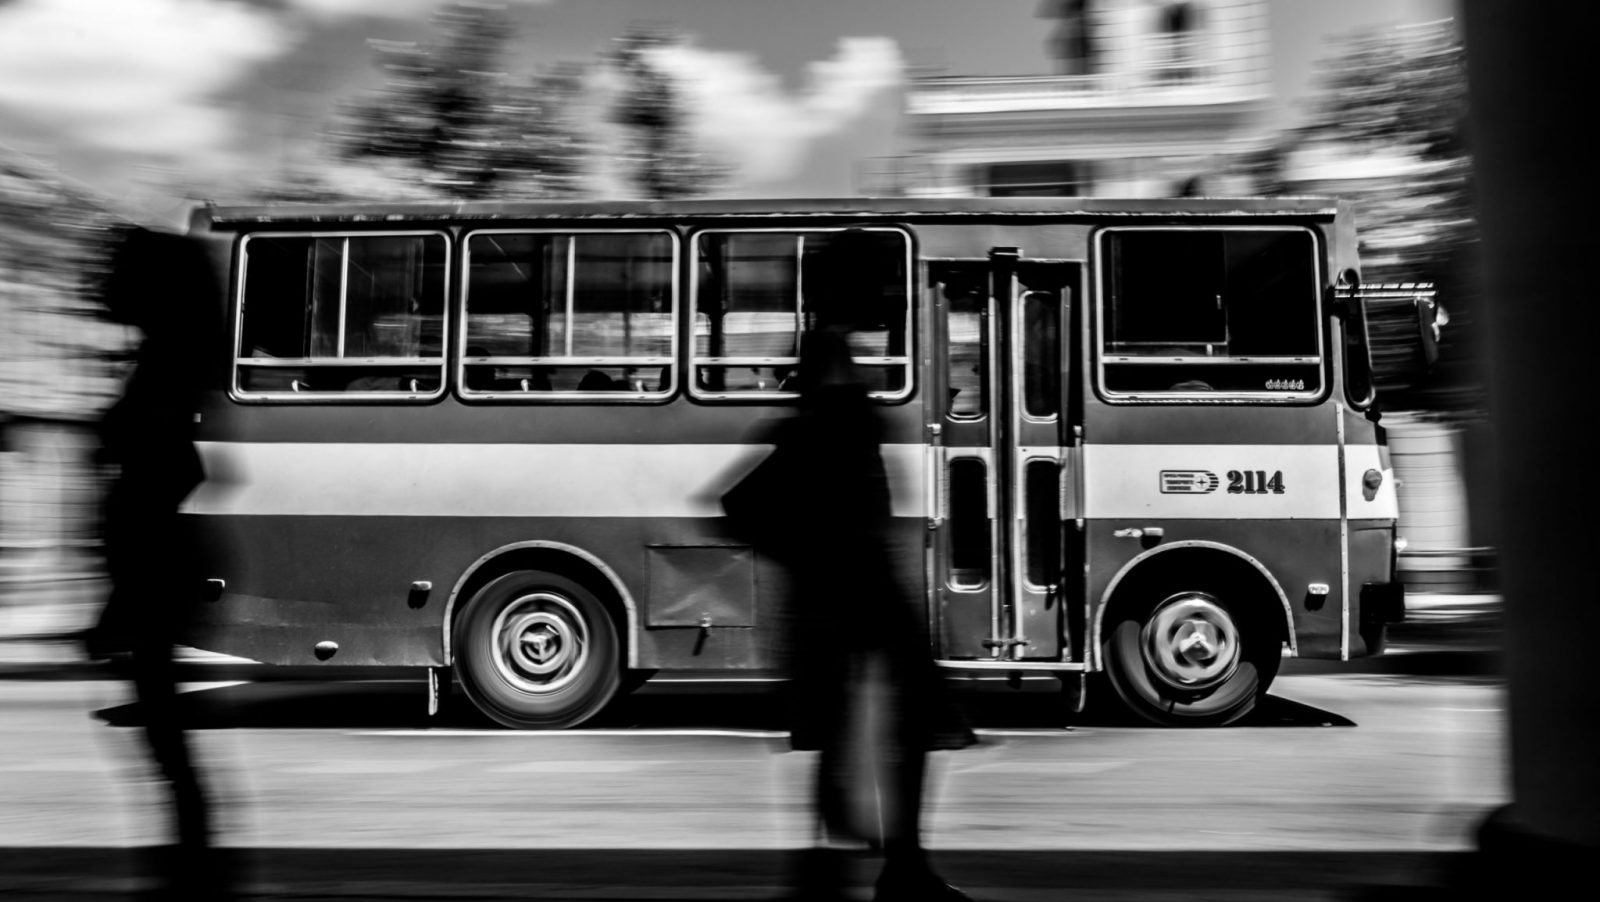
Center-weighted example (Barcelona)
The other way around, if you look to the darkest part of the scene, the camera will expose this area properly, not caring about the bright part which most probably will be burnt. Again, being aware of this we can in purpose create captures that make a bigger impact.
Finally, and for the riskiest situations there is the spot metering mode. In this case, the area of the sensor that will be measured in order to calculate the correct exposure will be a small spot. Many cameras have the option to define where this spot will be, so, even though it is in the middle by default, we can move this point to another place in the frame for specific situations.
Tip: For street photography, if you want to get the most of it from this setup, it will have to be used along with the AEL functionality.
The behavior is very similar to the center-weighted setup but as said, the measure being done in a very small area. Therefore, the exposure calculated by the camera will be according to this small point. This parametrization could lead to pictures that are heavily under or over exposed. If we aim to a very bright point or to a black area, the camera will set the shooting parameters to properly expose these forgetting the rest of the scene. However, if we know what we are looking for and in our scenario there are specific areas we want to be the photograph’s protagonists, this could be our mode.
It’s usage is very interesting for night street photography. In situation where there are light spots, streetlights, or windows and bars/shops that are lighted, the spot metering allows us to get high contrast pictures, where the subjects under these areas are properly exposed and most of the times creating a very dark or pretty much black surrounding areas.
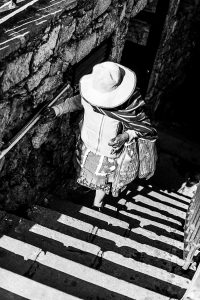
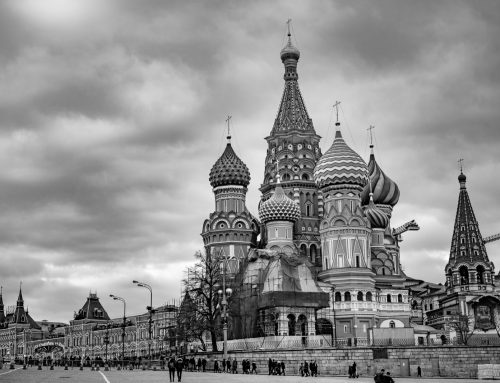
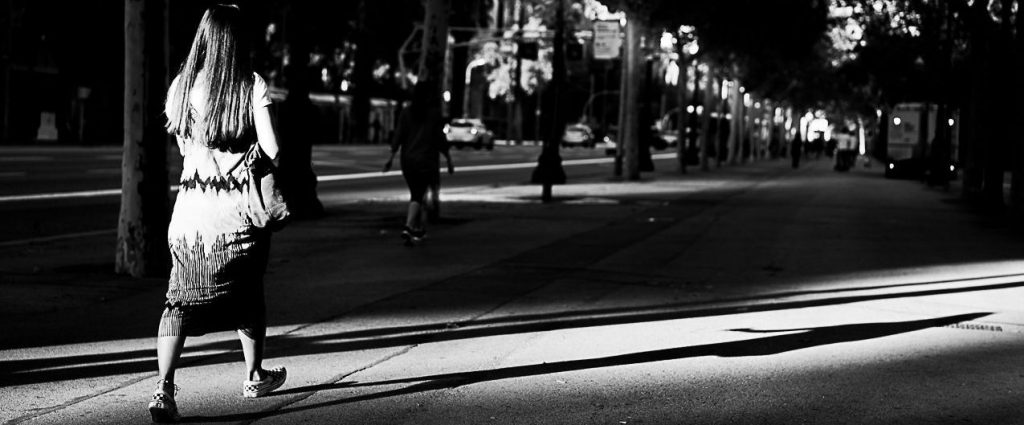
Spot metering (Guanajuato, Mexico)
Specially for center-weighted and spot setups there is a very interesting feature that we should know about in order to master these metering modes: AEL functionality. It allows us to block the exposure measure so we can re-frame without it being changed. I will speak about the AEL in a future post, so don’t miss it out!
Definitely, these three modes opens a huge opportunity to keep working in our creativity and walk through a more original street photography.
If you liked the post or found it interesting, feel free to share it with your friends, photographers or social media.
Thanks for reading!
Don’t miss my other post about Shooting Modes in Street Photography!

Etiopia IV – Kainaberak II (eus)
Ura eta ekintza komunitarioekin lotutako beste proiektu bat Etiopian.
Ethiopia IV – Kainaberak II project (eng)
Another project related to the water and community actions.
Etiopia IV – Kainaberak II (esp)
Otro proyecto relacionado con el agua y las acciones comunitarias.
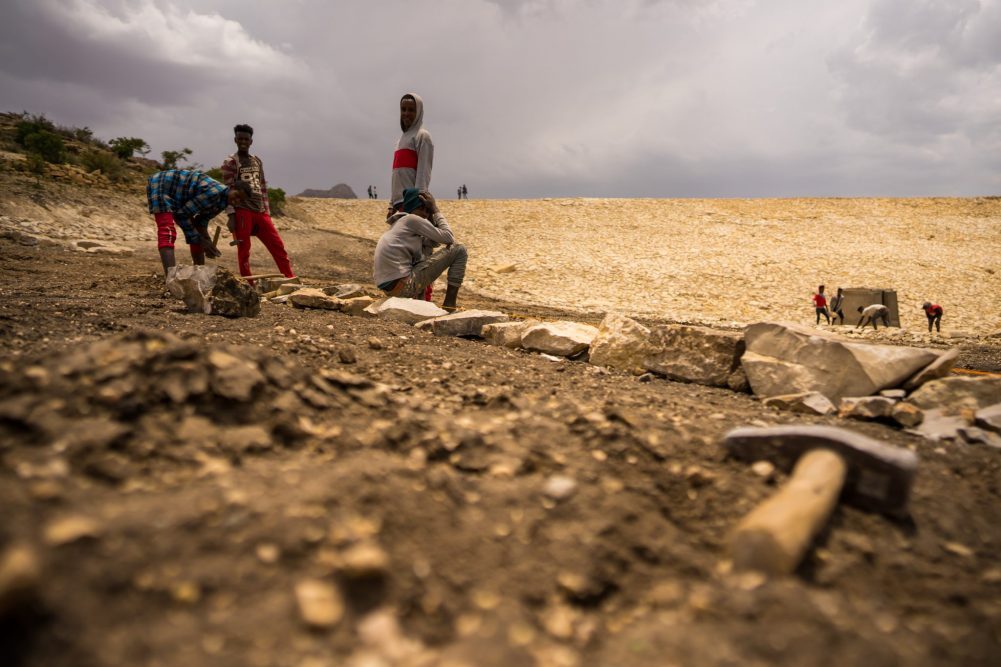
Ethiopia III – Mini Dam (eng)
My experience and learnings from a dam we visited in Ethiopia.
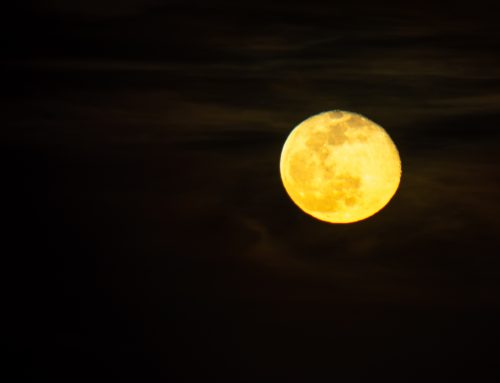
Shooting modes for street photography
In this post I explain alternative shooting modes from automatic in order to get the maximum of our camera in street photography.
Etiopia III – Mini Dam (eus)
Presa baten eraikuntza eta komunitatetik ikasitakoa, Etiopian.