3 BASIC EXERCISES
TO MASTER PHOTOGRAPHY
Having to spend so much time at home should be considered an opportunity to practice or learn those hobbies that in our stressful lives do not get a time slot in our agendas. This time I bring 3 simple exercises to understand the basics of photography, so next time you walk around with your camera or mobile phone you can get better pictures.
As you may already know, aperture, speed and ISO are the tree fundamental parameters that rule photography. Let’s see, in a practical way, how they work. The only thing you will need is a camera that can be setup in manual mode (even some mobile phones can have this option).
This is the test scenario I built to prepare this post:

1. Aperture: Play with F
The F parameter tells us how much light our lens will allow to come in. If F is small, this means the diaphragm is open (more light). If F is big, the diaphragm is closed (less light).

Source: lenscraft.co.uk
Now, let’s play with the camera. Set the following parameters:
- Speed = 1/80
- ISO = 100
Focus to the subject, and change the F value. What is happening? As your speed and ISO are constant, if you open the diaphragm (make F smaller) your image will be brighter. On the other hand, if you close it (making F bigger), you image will go darker.
Now you understand how F works in a very simple way 🙂
PRO TIP: There is one small thing you should know about F, and it is that it affects the depth of field (DOF).
- Small F: Small DOF, so the background of your image will be blurred (very used in portraits)
- Big F: Big DOF, so the background of your image is likely to be in focus (used in landscape photography)
*Check how DOF works focusing to your subject and changing F. Does it affect to the background? (you may need to adjust speed in order to get the correct exposure).

F2 | S 1/60 | ISO 100

F22 | S 2″ | ISO 100
See how closing F (F22, right image) the background is not blurred and how I had to use a much slower shutter speed (2 seconds).
2. Speed: Play with S
When we define speed in our camera, we are setting how much time the sensor will be exposed to the scene and it is measured in seconds. If we set a very high speed (for example 1/500 = 0,002 seconds), our shutter will go very fast. If we set a lower speed (1/20 = 0,05 seconds, or even 1 second), the shutter will take more time to open and close.
If you use a fast speed, your subject will be frozen; if the speed is slow, your picture may be moved.
Now, let’s play the game. Set the following parameters:
- F = 4
- ISO = 100
Adjust the speed (S) until you get an image that is correctly exposed. If you make it faster (1/bigger number), your image will be darker, as there is no time for the light to come in; and, if you make it slower (1/smaller number or something like 1” or 5”), your image will be brighter.
You should have already realized that these three parameters are related to each other. If you make speed slower and your image becomes too bright, you can close the F (make it bigger) so your picture is correctly exposed – Even more light comes in due to the slow speed, closing the F will compensate this. You can play with the parameters as much as you want until you master them.

You can use this principle to give movement to your pictures using the panning technique. We will speak about it in a future post (now that I have time to write them 🤣)
3. ISO: Play with (low) ISO
The ISO defines the sensitivity to the light of our camera’s sensor. The lower the ISO, the lower will be the sensitivity so we will need more light to get the correct exposure. So, should I use the highest ISO as possible? NO
Making the ISO higher means that our camera needs to use algorithms to calculate the pixels that do not get enough light, so the rule will be to use the lowest ISO as posible every time. However, if you are shooting a sportsman and you need a speed of 1/500 in order to freeze it, there may not be enough light so your only choice would be to increase ISO.
Now that you know what each parameter is and how they work you can practice with lights, moving objects or even with you family members. Using a little bit of imagination you will be able to get amazing pictures even at home.
If you did not understand something don’t hesitate to contact me, I will be happy to help!
Thanks, once again, for reading.
Check other posts:
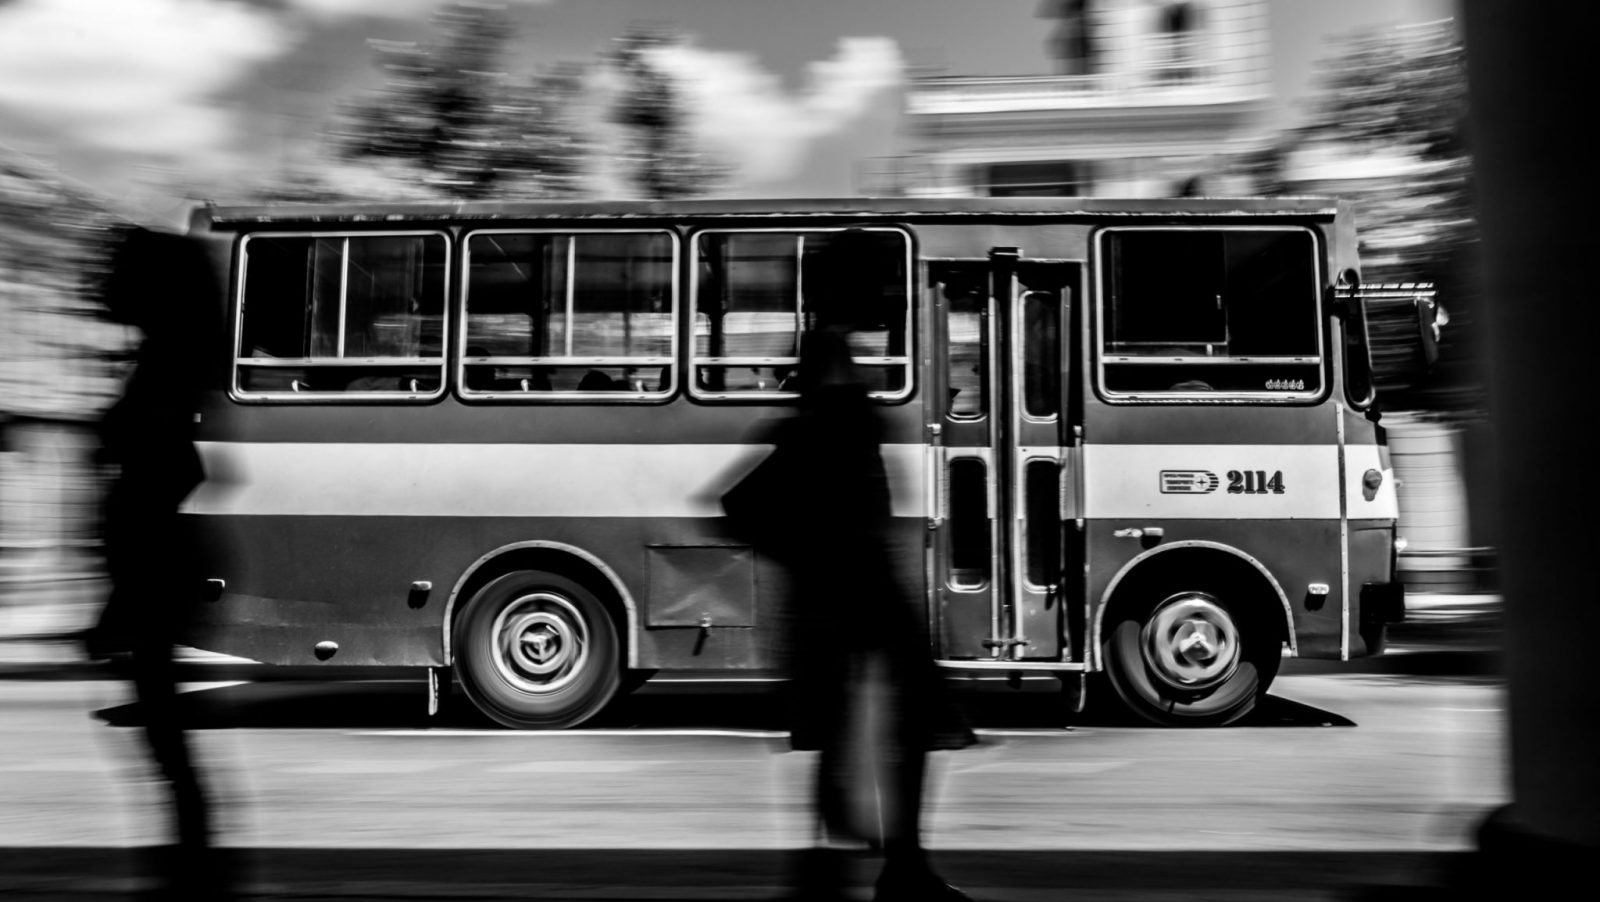
Shooting modes for street photography
In this post I explain alternative shooting modes from automatic in order to get the maximum of our camera in street photography.
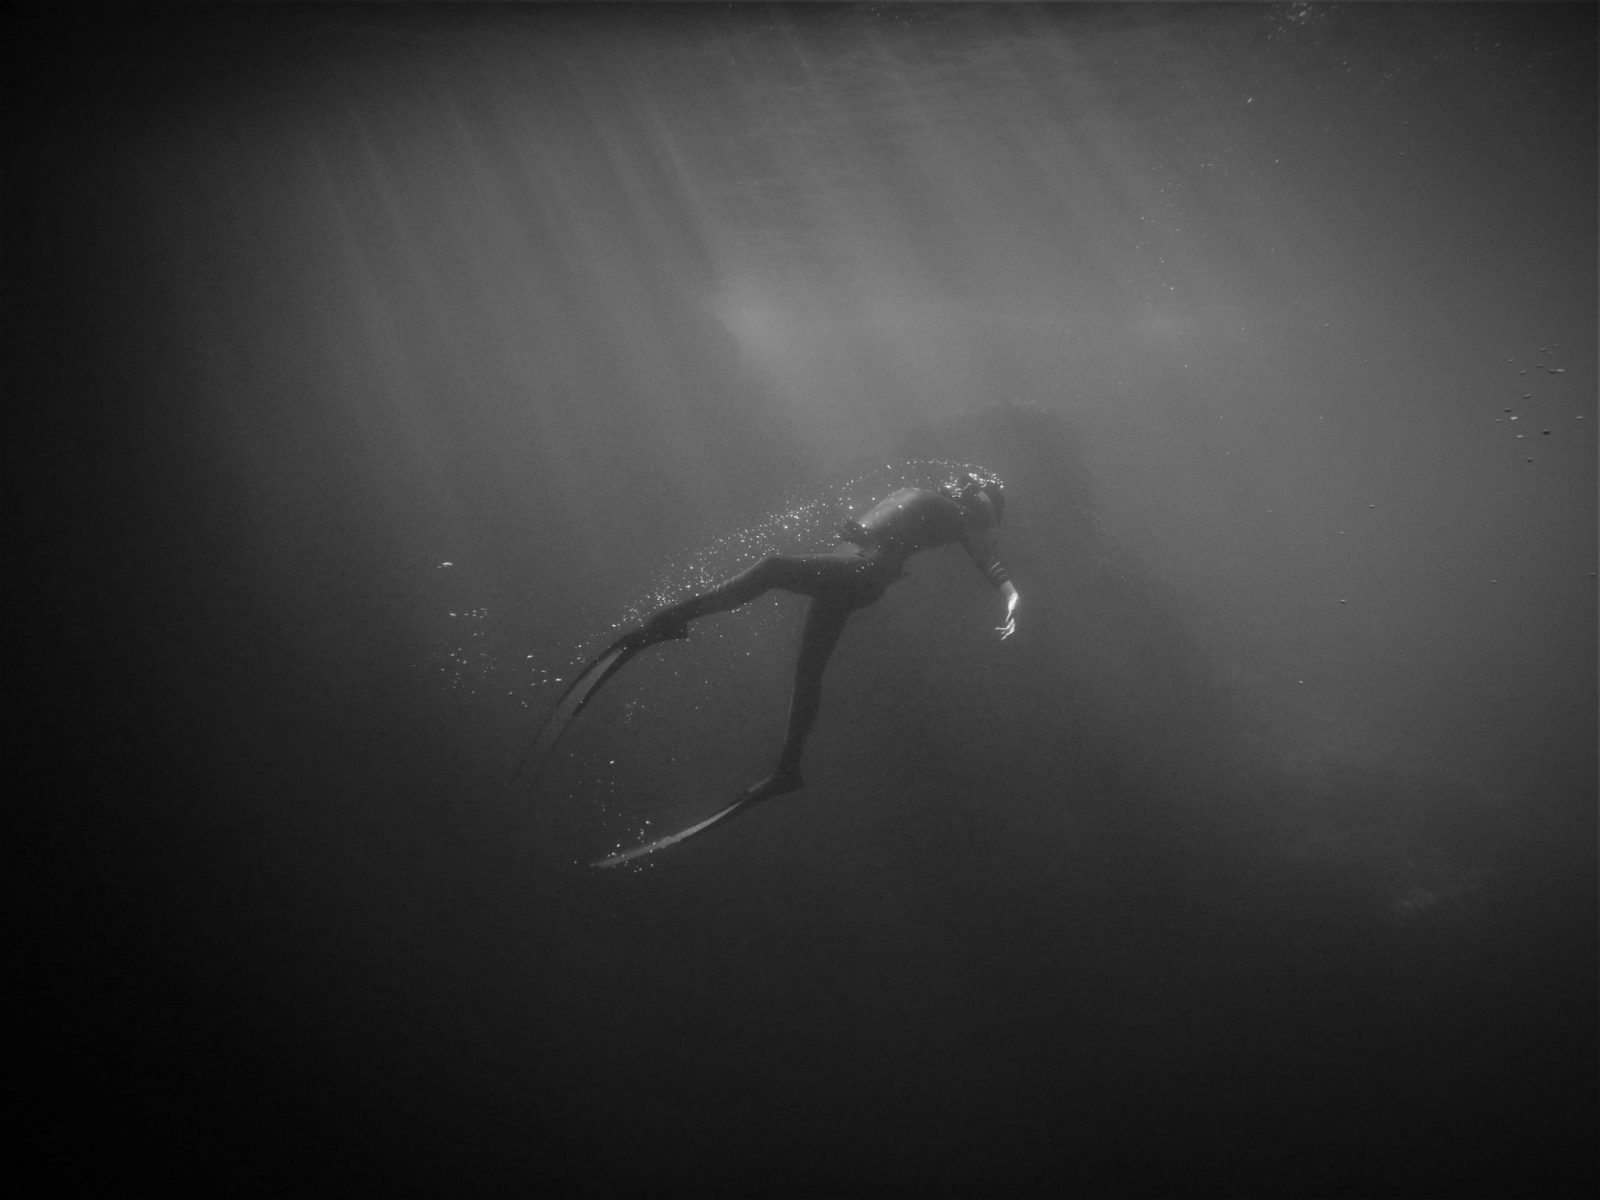
Underwater photography, by Iraia Semperena
A colaboration of Iraia Semperena, marine biologist and a passionate scuba and free diver.
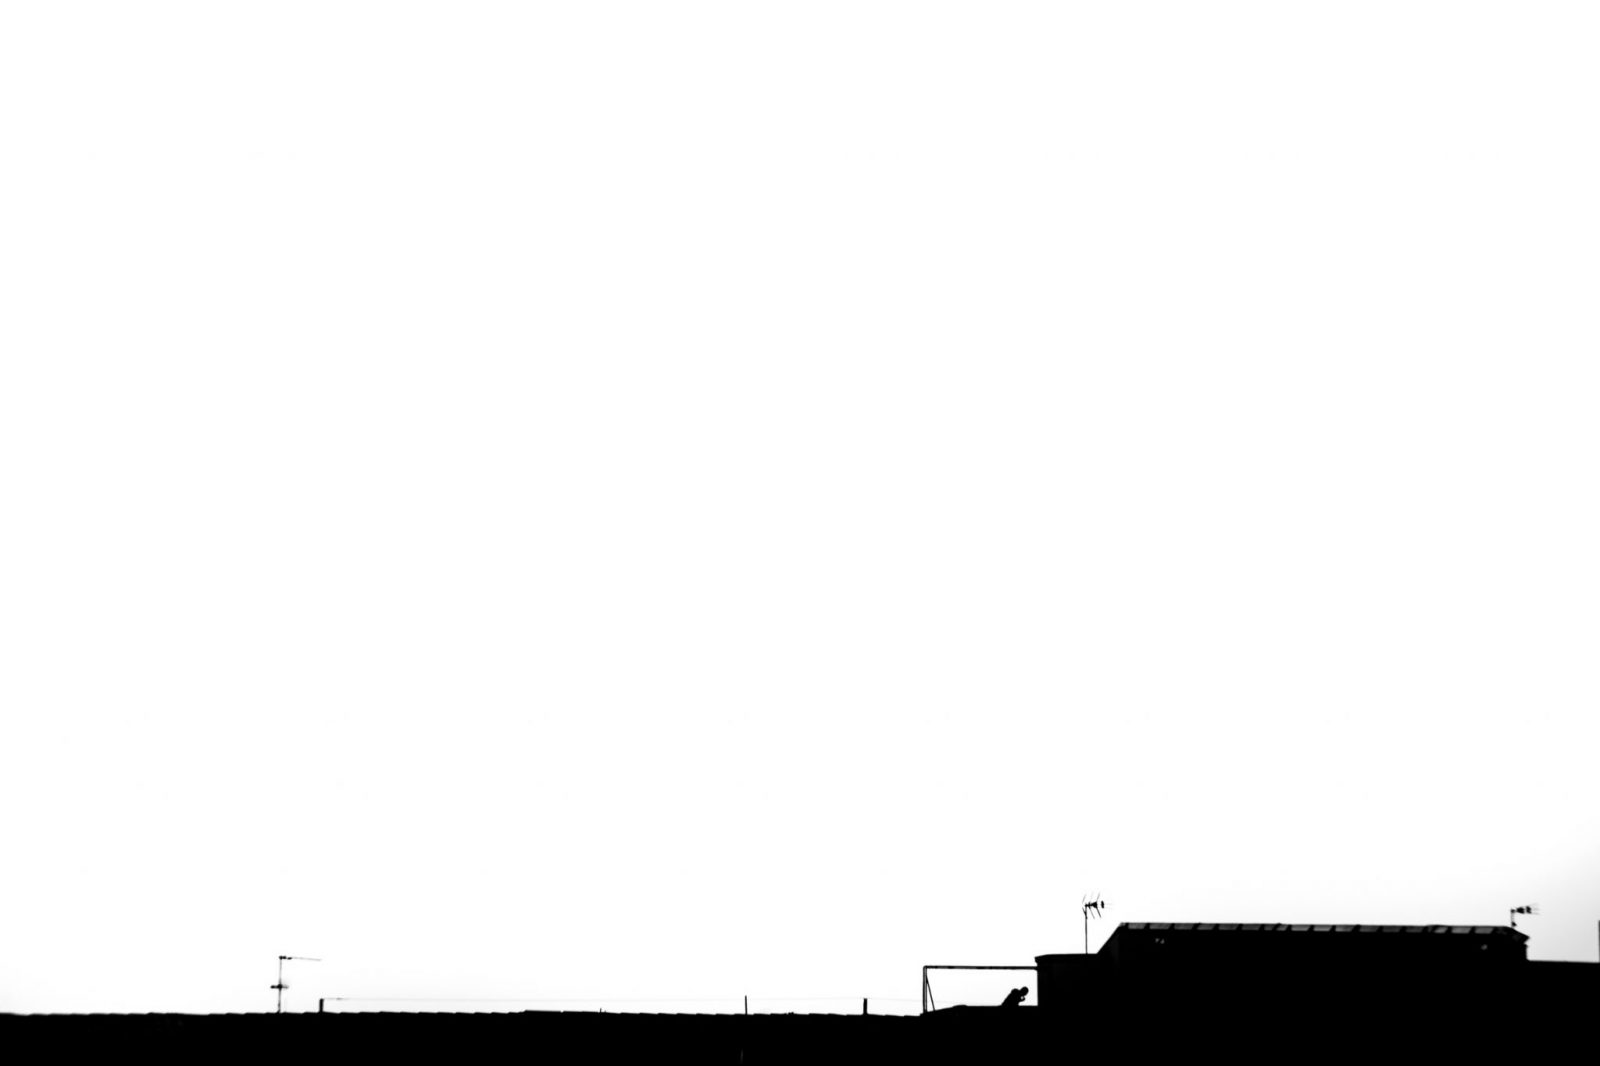
⊛ Photography in times of Coronavirus
Can you practice street photography while in confinement during the Covid-19 crisis? Let's see!
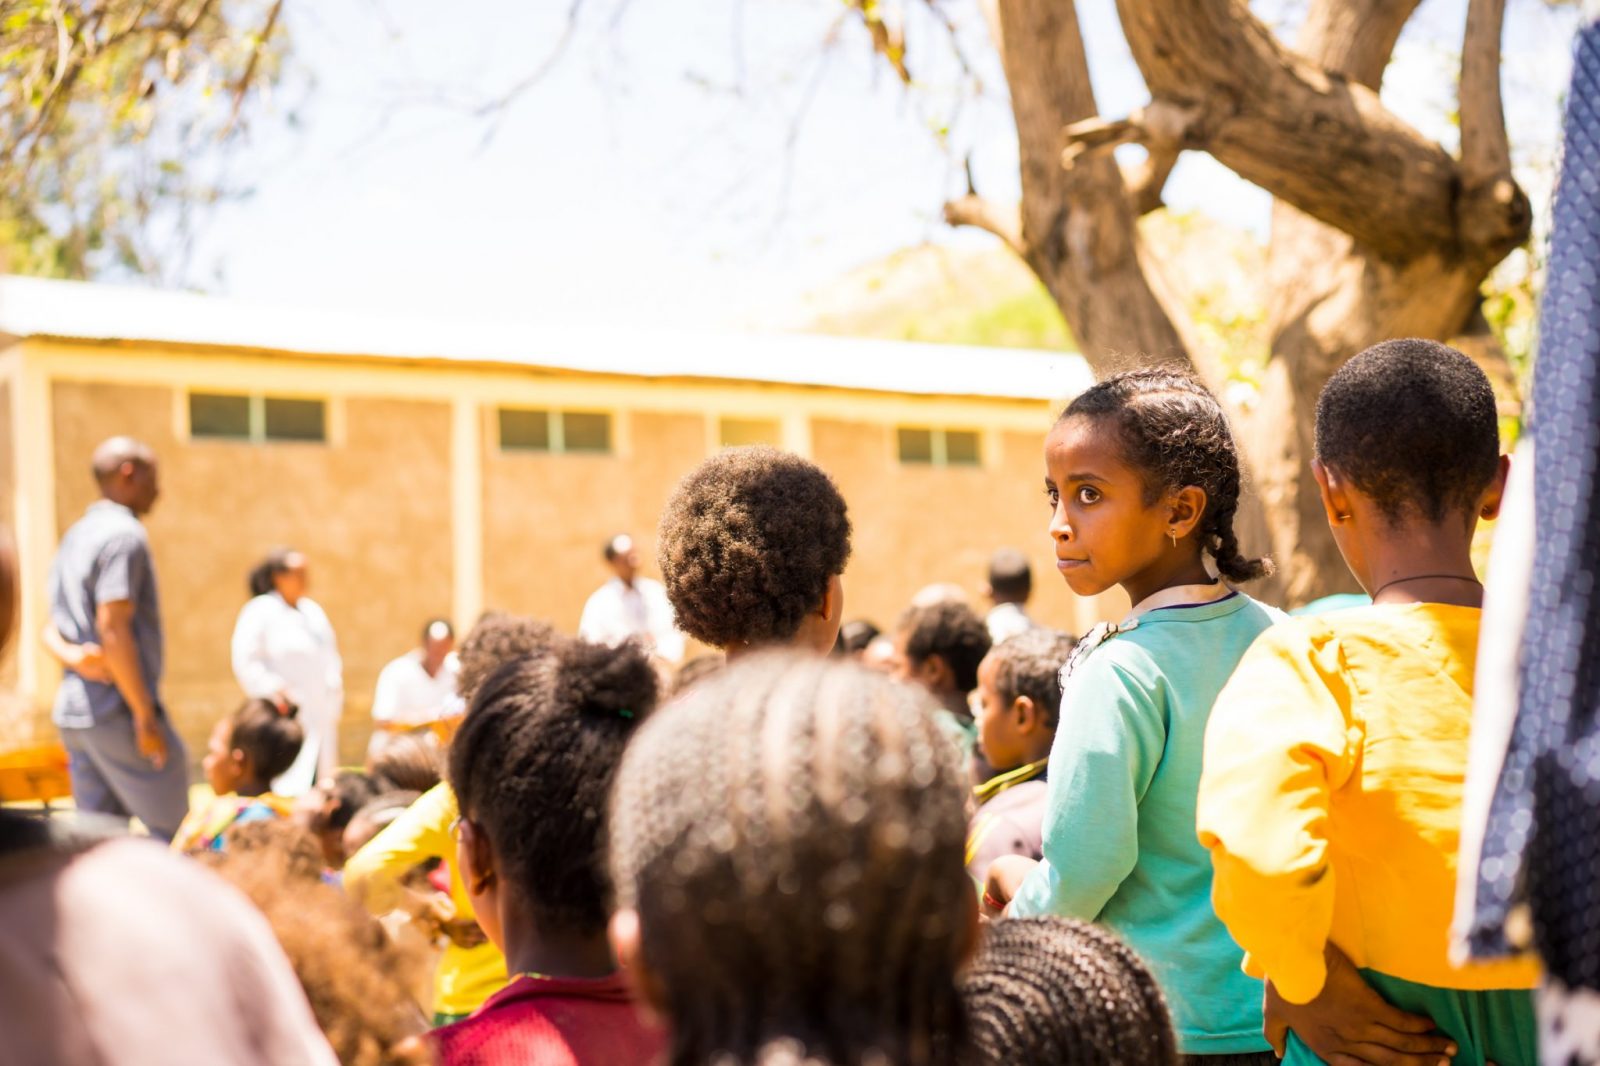
Etiopia II – MHM (eng)
My experience in the Menstrual Hygiene Management (MHM) project in Ethiopia.